Reviewed · KYOTO TOURS
Natural Indigo Dyeing with Local Masters (Private Atelier)
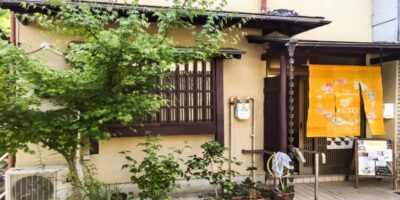
This experience is interesting because you’re working inside a real indigo dye studio with age behind it, not a set built for photos. I like that you start with a studio look at the tools and vats, then you get hands-on time. The 300-year-old indigo studio part feels like the whole point.
I also love how the teaching is practical, step-by-step, and tied to the traditional fermented indigo process. The bilingual flow matters too, with Chie guiding the experience and Sakura translating during the master artisan instruction, so you can actually follow what you’re doing.
One consideration: the space is traditional (wooden floorboards) and wheelchair access is not available, and there is no clothing change room. Plan to wear casual clothes you don’t mind getting stained, and expect it to be a little messy.
Key takeaways before you go
- Working studio, not a souvenir replica: you see the real vats and tools used for indigo dyeing
- Fermented indigo vats (sukumo): the process uses natural fermentation, not chemical dyes
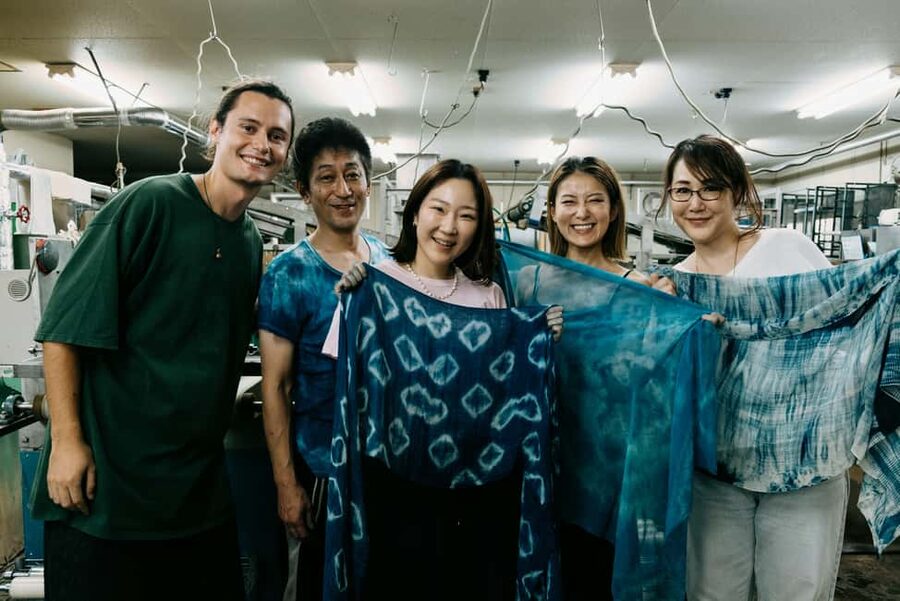
- Small group format (max 6): enough time to get help while you fold, bind, and dip
- Bilingual support in Japanese and English: with Chie and Sakura keeping things clear
- Indigo leaf tea and cultural stories: you slow down at the end, then take photos
- Upgrade options on the day: cotton, silk, or wool pieces are available if you want more than the included item
Inside Kyoto’s real 300-year-old indigo dye studio

If you care about craft that still lives, this workshop hits the mark. The dye studio you visit is described as a genuine 300-year-old indigo workplace, hidden in western Kyoto. That means you’re not just watching a demo. You’re getting pulled into the rhythm of an active dye house, with the sights and smells that come with real dye vats.
The workshop also has a special framing that I appreciate: it’s been offered exclusively to international guests for the first time through a trusted connection. In plain terms, that can mean a calmer, more personal experience than a fast, cookie-cutter class.
The setting is traditional. Expect wooden floorboards, a studio feel, and practical workspace rules. Restroom access is available, but you should not expect the kind of modern comfort you might see in a glossy tourist studio.
Also on the shortlist for Kyoto:
- PERFECT KYOTO 1-Day Bus Tour
★ 5.0 · 13,518 reviews - Kyoto: Fushimi Inari, Kinkakuji, Bamboo Grove 1 Day Bus Tour
★ 4.8 · 4,316 reviews - Kyoto: Tea Ceremony in a Traditional Tea House in Kiyomizu
★ 4.9 · 3,519 reviews
Meeting Chie and learning the studio rules fast
The experience opens with a welcome plus a studio tour, roughly 15 minutes. This is not just small talk. You’ll hear about indigo in Japan and why it matters in everyday life and symbolism. Then you move into the working space and get oriented to the tools, the vats, and the atmosphere that dye families maintain for generations.
This is where you pick up the small practical details that make the rest of the session go smoothly. You’ll get outfitted with protective items so your own clothes do not get ruined. In particular, the experience uses gear like an apron, gloves, and shoe covers, and it’s clearly designed for people who might not be used to dye work.
I like that the orientation happens first. It reduces stress later, because you already understand what you’re looking at when the dyeing part starts. And if translation is important for you, this is where Chie and Sakura’s roles become especially helpful. Sakura is specifically called out for translating the master artisan clearly, so you’re not left guessing what step comes next.
Sukumo vats and the chemistry you can watch happen
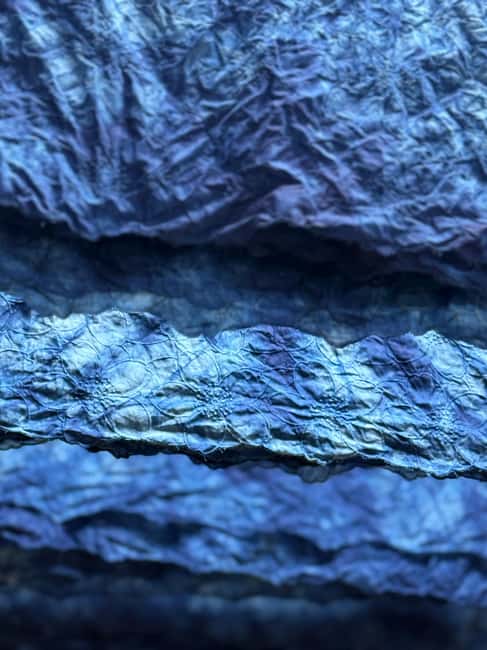
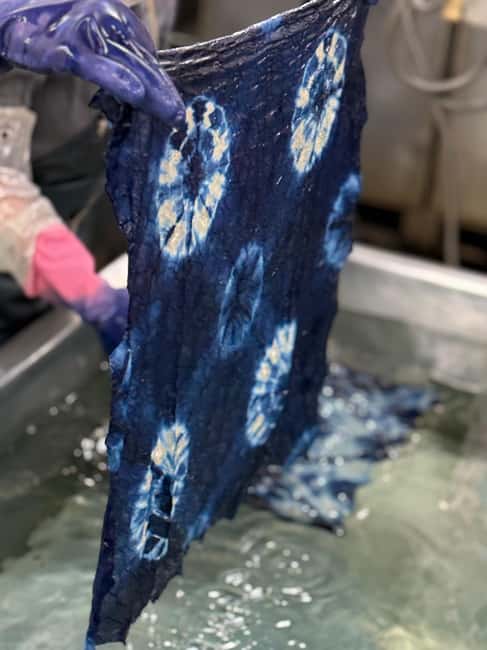
The hands-on dyeing portion runs about 60 minutes, and it’s the core of the experience. You’ll work with fermented natural indigo vats, called sukumo. This is key. The workshop emphasizes natural, fermented indigo with no chemical dyes.
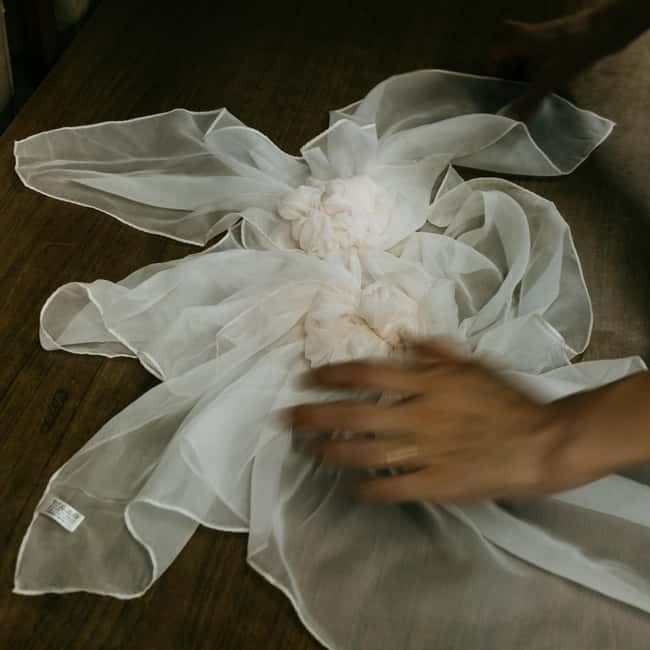
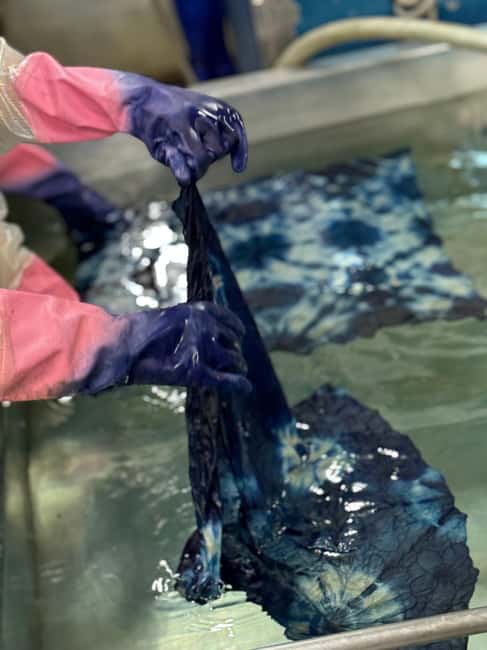
Here’s what to pay attention to during the process. You’ll fold and bind your fabric using traditional techniques (including a folding demonstration of furoshiki wrapping). Then you’ll dip into the indigo vats. Through oxidation, the color shifts. The workshop describes the fabric starting green and changing to a deep blue as oxidation happens.
That color change is one of the most satisfying parts, because it feels like you’re witnessing the process instead of just getting a finished product. And because the instruction is step-by-step, you can focus on doing each move correctly, not just hoping for the best.
Also, because the group is capped at six participants, you’re more likely to get real attention while you’re working. That matters with binding and folding, where one wrong placement can affect the pattern.
What you dye: included furoshiki and day-of upgrades
You choose what you’ll dye on site. The basic workshop includes one cotton furoshiki cloth, roughly 45 to 50 cm. In the workshop description, other options are also mentioned for what you might create in the basic fee, like a tenugui or a larger handkerchief option with cherry-blossom embroidery. In practice, the key point is that you’re not expected to bring your own fabric. The studio provides what you dye.
If you want to take home something bigger or more wearable, there are upgrade options you can pay for on the day:
- Cotton scarf (lightweight, wearable year-round)
- Silk scarf (luxurious texture and deep tones)
- Wool stole (made from quality wool, described as sourced from Mongolia)
This is a smart way to structure the experience. If you’re traveling with limited luggage, a smaller cotton piece is easy to pack. If you want a higher-impact souvenir, a scarf or stole can give you something that feels more like a finished garment piece, not just a small craft token.
One more practical note: shipping is not included in the standard experience. You can request shipping at extra cost, so if you’re thinking ahead for long trips, plan for your dyed piece to stay with you until you’re done traveling.
A change of pace from Kyoto:
- Kyoto Geisha Walking Tour: Gion District & Hidden Gems
★ 4.7 · 3,273 reviews - Kyoto: Tea Ceremony Ju-An at Jotokuji Temple
★ 4.9 · 3,207 reviews - Kyoto: Gion Magical Night Walking Tour with Geisha Trivia
★ 4.9 · 2,393 reviews - Kyoto: 45-Minute Tea Ceremony Lesson Experience
★ 4.3 · 2,378 reviews
Tea, cultural stories, and time for photos
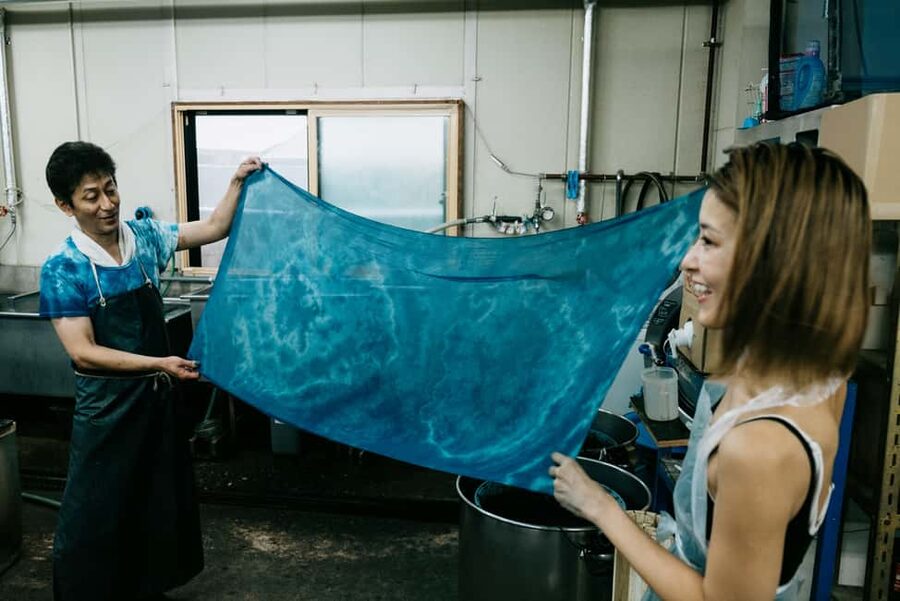
After dyeing, you get a closing segment, about 15 to 20 minutes. This is where the pace changes from hands-on work to reflection. You’ll have indigo leaf tea, and you’ll get cultural stories connected to the craft.
This portion matters more than it sounds. Indigo dyeing is patience work, and a lot of the meaning comes from the slow, careful steps that can’t be rushed. Tea time gives you that mental reset, and it also gives you space to ask questions while the process is still fresh in your mind.
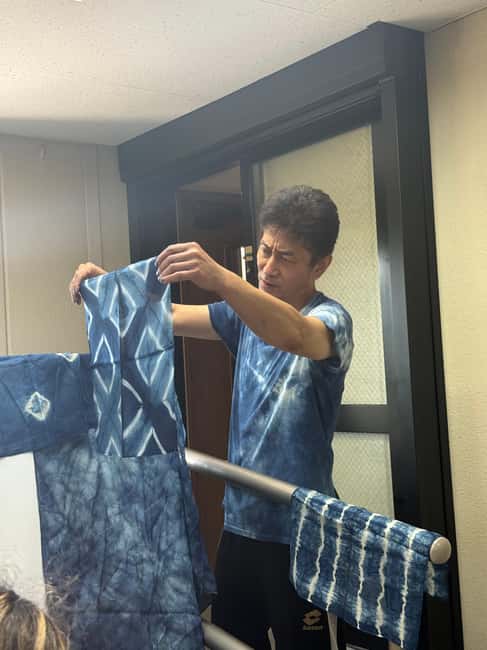
Then you wrap up with time for photos with your finished creation. You’ll also have a chance to look around and purchase dyed items from the shop area, plus view a gallery and displays like kimono. If you like crafts as a buying category, this is where you can connect what you made with what the studio produces.
Price and value: what $95 is buying you
At $95 per person for about 2 hours, this workshop isn’t trying to be a cheap activity. But it also isn’t just paying for someone to tell you about indigo. You’re paying for access to a working studio, hands-on use of fermented natural indigo vats, real bilingual support, and instruction that keeps the process understandable.
Here’s how the value stacks up:
- You get a real practice-oriented session, not a quick demonstration.
- Small group size (max 6) supports individualized help.
- The workshop provides tools, materials, and protective wear.
- You take home a dyed textile, included in the basic fee.
- You get cultural context plus indigo leaf tea, which turns the class into more than a one-off “make and leave” moment.
If you’re comparing to generic craft classes in major tourist zones, the difference is the workshop’s authenticity claims: a working, historic indigo dye environment with sukumo vats, taught by artisans rather than a staged guide performance.
The one cost wrinkle to consider is upgrades. If you go for a silk scarf or wool stole, your total will rise. Still, it’s optional and lets you choose what kind of souvenir you want.
Practical tips so you enjoy the studio, not fight it
This is a studio workshop, so it helps to dress and behave like one. Here’s what I’d do to make it easy on myself:
Wear comfortable shoes with grip. The space is traditional with wooden floorboards, and you will be moving around as you fold, bind, and dip.
Wear casual clothes that can get dirty. Even with protective gear, dye work is dye work. You should assume a bit of staining risk exists, especially around hems and sleeves.
Do not plan on a clothing change room. The studio setup includes restroom access, but you’re not given a space specifically to change into cleaner clothes after. If you’re the type who hates feeling “unfinished” after a messy activity, you may want to plan for a casual plan afterward, like a low-key walk or coffee near your hotel.
If you’re bringing a camera, bring it in a way that doesn’t slow down the process. You’ll want photos at the end, and you’ll see tools and vats during the tour, so you’ll capture the studio atmosphere too.
Finally, go in with patience. This is not a rush-and-done class. Indigo dyeing depends on careful folding, binding, and the oxidation shift that turns green to deep blue.
Who this is for, and who might want a different Kyoto day
This workshop is ideal if you want authentic Kyoto craft with hands-on time and you care about what makes indigo indigo. It’s also great if you enjoy learning through process, not just receiving a final product.
It’s also a solid choice for families, since the minimum age is 8+. The small group size and the guided support make it more feasible for kids to participate and understand what they’re making.
You might want a different activity if:
- You’re mainly looking for a big scenic outing. This is a craft studio day, not a landmark sprint.
- You need wheelchair access. Wheelchair access is not available.
- You want a formal, modern studio with easy clothing changes. There’s no change room.
Should you book this natural indigo atelier?
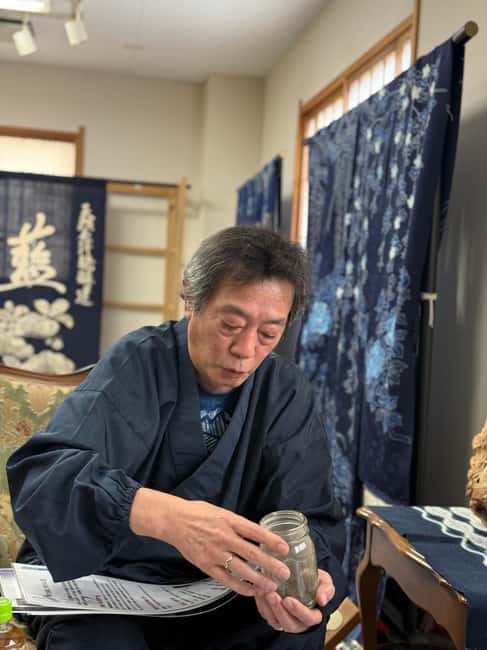
I’d book it if you want a Kyoto experience tied to living tradition, with sukumo fermentation, a genuine historic studio environment, and real time at the vats. The bilingual support matters, especially if you like following step-by-step instructions, and the staff help is repeatedly praised as patient and encouraging, with Sakura translating clearly and Chie supporting the whole flow.
If you’re the type who likes to bring home something you made yourself, this is also a strong pick. You’ll dye a textile you can keep, and you’ll get the deeper context to appreciate why the colors land the way they do.
If you want a quick, low-effort souvenir stop, this may be more work than you want. But if you want craft you can feel in your hands, and a workshop that treats the process with respect, this indigo session is one of the better values in Kyoto.
FAQ
How long is the natural indigo dyeing workshop?
It runs about 2 hours, with an outline of 15 minutes for welcome and studio tour, around 60 minutes of dyeing, and 15 to 20 minutes for tea and closing reflection.
What group size is it?
The workshop is limited to a small group, with a maximum of 6 participants.
What languages are offered during the workshop?
Support is available in English and Japanese.
What do I dye, and is any fabric included?
You dye one item of your choice selected on site. A cotton furoshiki cloth is included in the basic workshop fee.
Can I upgrade to a scarf or other item?
Yes. You can upgrade on the day to items such as a cotton scarf, silk scarf, or wool stole for an additional fee.
Is indigo leaf tea included?
Yes. Indigo leaf tea is served during the experience, along with a closing moment for reflection and questions.
Is shipping available for the dyed item?
Shipping is not included, but it may be available upon request for an extra cost.
Are restrooms available at the studio?
Yes, a restroom is available on site.
Is wheelchair access available?
No. Wheelchair access is not available.
How do I get to the studio from Kyoto Station?
The studio is about 30 minutes away by train and walk from Kyoto Station, and the exact address is provided after booking.
Latest write-ups near Kyoto
- Kyoto: Nishiki Market Tour with a Local Foodie & Tastings★ 4.5 · 67 reviews
- Kyoto Kimono Rental mimosa |Kimono/Yukata Rental Couple Plan★ 4.8 · 67 reviews
- Kyoto: Traditional Kimono Fabric Handicrafts Workshop★ 5.0 · 67 reviews
- Kyoto Tea Ceremony and Samurai Photo Session★ 5.0 · 70 reviews
- Kyoto: Replica food making experience★ 4.8 · 70 reviews
- Kyoto: Kinkakuji, Golden Pavilion Guided Tour★ 4.7 · 71 reviews
- Private departure transfer from Kyoto city to Kansai International airport★ 5.0 · 72 reviews
- Uji: Green Tea Tour with Byodoin and Koshoji Temple Visits★ 4.8 · 72 reviews
Kyoto Tours, compared.
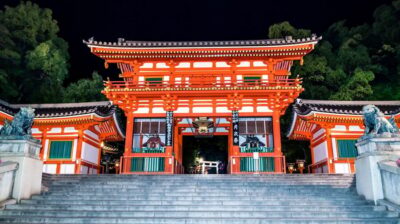
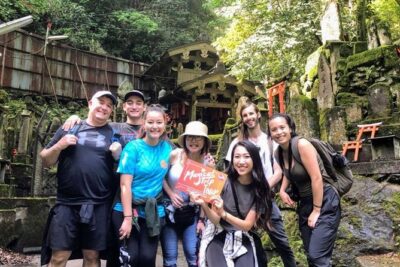
Fushimi Inari, Kinkakuji, Bamboo Grove 1 Day Bus Tour
Read our review →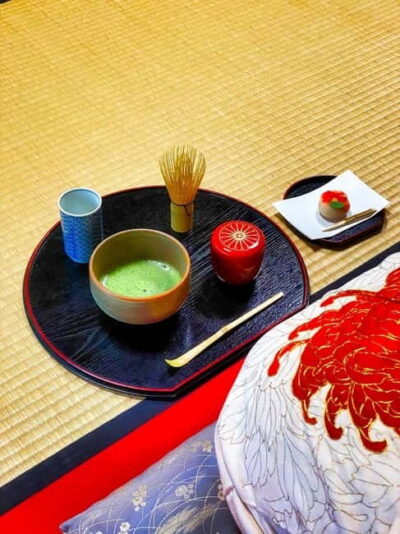
Tea Ceremony in a Traditional Tea House in Kiyomizu
Read our review →
Kyoto Geisha Walking Tour: Gion District & Hidden Gems
Read our review →
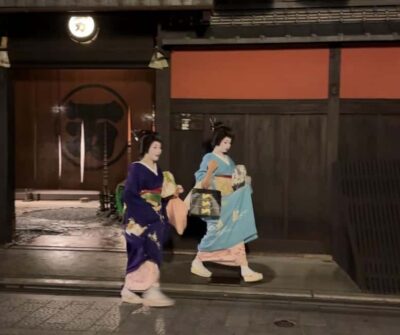
Gion Magical Night Walking Tour with Geisha Trivia
Read our review →