
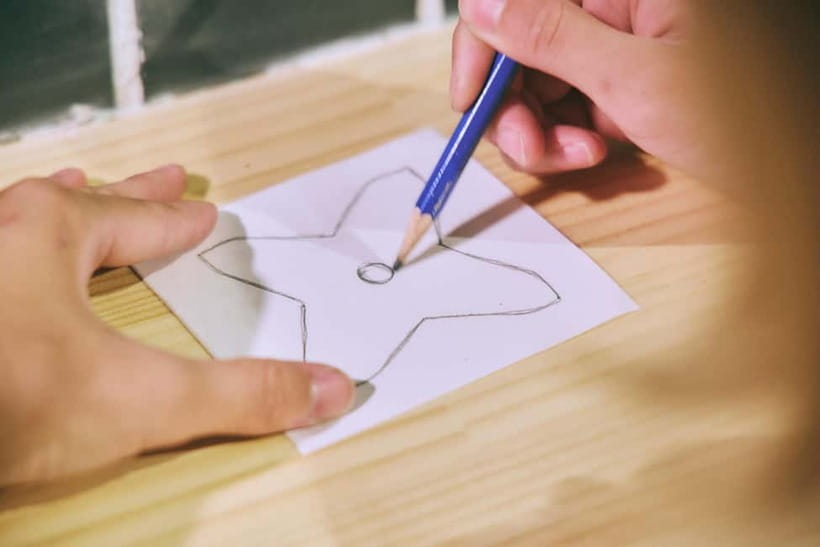
Reviewed · SAMURAI & NINJA EXPERIENCES
Kyoto: Forge Your Own Ninja Weapon with Japanese Tin Casting
Kyoto: Forge Your Own Ninja Weapon with Japanese Tin Casting is interesting because you’re not watching ninja cosplay, you’re making a real small metal piece using tin casting steps that craftsmen use every day. I like the hands-on flow, and I especially like that the instructors guide you through each stage, including molten tin casting. The one thing to keep in mind is the finished size is small, about 8 to 10 cm, so this is a keepsake, not a full-size prop.
What also makes this easy to fit into your Kyoto plan is the location, about a 3-minute walk from Demachiyanagi Station, plus English and Japanese instruction. If you care about photos, you’ll likely want your phone ready, since this workshop is built around showing the process and results.
Key things you should notice before you go
- Real tin casting, not a craft demo: you actively work the steps, under staff supervision
- Pick your style: shuriken, kunai, or an oni mask, with upgrades for kunai and mask
- Small keepsake size (8 to 10 cm): plan your expectations like a souvenir you made
- Hands-on shaping and polishing: you file and refine the details by working metal
- Rust protection and oil finish: the workshop handles the end coating so your piece survives
- 3-minute walk from Demachiyanagi Station: low travel friction for a 2 to 2.5 hour class
Kyoto Tin Casting for a Ninja Kunai or Shuriken, and the Oni Mask Option
This is the kind of Kyoto activity that turns your trip memories into something you can hold. You choose a ninja design, make the mold, cast real tin, cool it, and then do the finishing work like filing and smoothing. It’s not a passive workshop where you mostly watch. It’s set up so you leave with a physical item, boxed like a proper souvenir.
You can make a shuriken, or you can level up to a kunai or an oni mask. The oni mask takes a bit longer since there are extra finishing touches. If you want a workshop that feels creative but still grounded in real craft technique, this format hits that sweet spot.
More Samurai & Ninja Experiences in Kyoto
- Kyoto Samurai Experience
★ 5.0 · 1,294 reviews - Kyoto: Kendo and Samurai Experience with Uniform and Gear
★ 4.9 · 815 reviews - Kyoto: Samurai Sword Class by Experts in Traditional Arts
★ 4.9 · 657 reviews
Where the Workshop Lives: 3 Minutes from Demachiyanagi Station
Location matters in Kyoto, and this one is practical. The studio is around a 3-minute walk from Demachiyanagi Station. That means you can tack it onto your day without building in extra buffer time just to get there.
Because the class runs about 2 hours to roughly 150 minutes for the smaller pieces, being close to a station is a real advantage. You won’t feel like you’re spending half your time commuting across town.
Also, you’ll be working in a studio environment, which is good to know if you’re trying to plan around meal times. Food is not allowed during the experience, so I’d treat this like a focused session you do before or after eating.
Choosing Your Weapon: Shuriken, Kunai, or Oni Mask
The first step is choosing what you want to make. The core options are:
- Shuriken
- Kunai
- Oni mask
The kunai and oni mask can be selected as optional upgrades, so if you’re trying to keep choices simple, start with shuriken. It still gives you that hands-on casting and finishing experience, just with fewer extra elements at the end.
If you go with a kunai, you’ll be shaping a more knife-like design. It’s a nice choice if you want something that reads instantly as a ninja tool. The oni mask is the more dramatic pick. It includes additional finishing steps, like applying gold leaf for an eye-catching accent and adding a cord so you can wear or display it.
You’re limited by size, though. The finished piece you create is about 8 to 10 cm, so the “wow factor” comes from detail and craftsmanship, not scale.
The Real Craft Loop: Mold Sand to Molten Tin to Cooling
Here’s the part you’ll remember. This workshop walks you through a full casting cycle, from shape creation to metal finishing.
A change of pace from Kyoto:
- PERFECT KYOTO 1-Day Bus Tour
★ 5.0 · 13,518 reviews - Kyoto: Fushimi Inari, Kinkakuji, Bamboo Grove 1 Day Bus Tour
★ 4.8 · 4,316 reviews - Kyoto: Tea Ceremony in a Traditional Tea House in Kiyomizu
★ 4.9 · 3,519 reviews - Kyoto Geisha Walking Tour: Gion District & Hidden Gems
★ 4.7 · 3,273 reviews
1) Make the mold with special casting sand
You form a detailed mold using professional casting sand that defines the final shape. This step is where you feel the workshop shift from imagination to technique. You’re not just picking a design, you’re physically building the form that molten metal will follow.
What I like about this for first-timers is that it gives you something concrete to concentrate on. Even if you’ve never done metalwork, the process is structured.
2) Melt tin and pour it into the mold
Tin melts at 230 degrees, and it’s described as easier to work with than many other metals. Still, you don’t free-form anything here. The key is that staff supervision is part of the process when molten tin is being poured, which keeps the experience comfortable and safe for beginners.
This is also where your design starts to become real. The moment molten tin meets your mold is the turning point from craft to finished object.
3) Cool the metal in water
After pouring, the metal is rapidly cooled in water, which solidifies your creation quickly. This cooling step is part of why the workshop can fit into a two-hour time window for most pieces.
You’ll go from “soft story” to “hard object” faster than you might expect.
Shaping and Polishing: Files, Grinders, and the Moment It Looks Right
Once the tin is solid, the workshop shifts from casting to finishing. This is the stage where your hands do the work and the piece starts looking crisp.
You’ll use files and tools to smooth the surface and refine the details. You’ll also hammer as part of the shaping process, since hammering and filing are included steps. Even if you’re cautious, the work is straightforward because the piece is small, and the instructors can help you correct the shape as you go.
This is one of the most praised parts of the experience, because it turns your souvenir from generic to personal. The better your finishing, the more satisfying the final result looks in photos.
Rust Protection and Oil Finish, Plus a Dedicated Box
Tin is easy to work with, but you still want to protect it after shaping. That’s why the workshop includes an anti-rust step and a final oil coating.
You soak the piece in a rust-preventive solution, then coat it with special oil. This matters for value because you’re not just making something fun for the day, you’re making something that can last as a keepsake.
Each weapon also comes with a dedicated box. This is a small detail, but it’s practical. You can pack it safely, and you can store it without it getting scratched or dull during the rest of your trip.
The Oni Mask Upgrade: Gold Leaf and a Wearable Cord
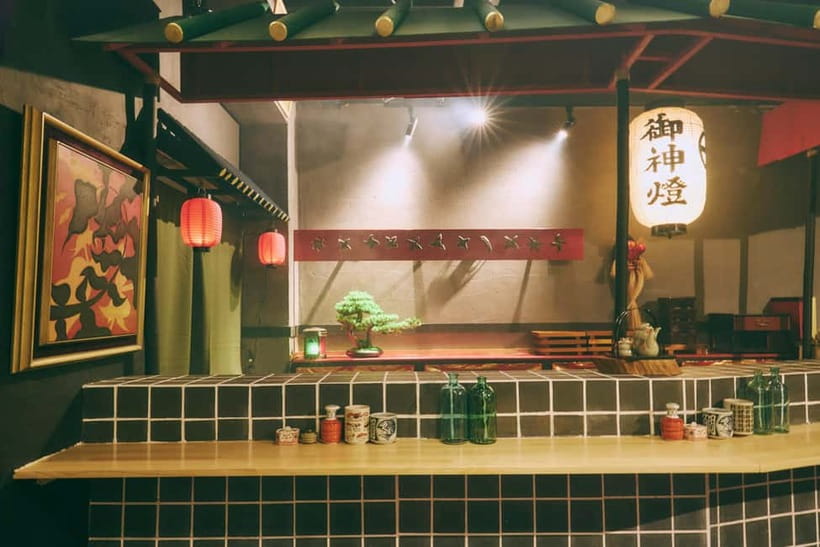
If you want extra drama, the oni-inspired metal mask option adds steps beyond the standard weapon process.
The additional steps include:
- Applying gold leaf for a striking accent
- Choosing and attaching a cord so the mask can be worn or displayed
This is the option I’d pick if you like your souvenirs to look like art. It also makes the workshop feel more like a full character project, not just a single tool.
Just remember the timing. The oni mask runs about 2.5 hours, so you’ll want a bit more slack in your day if you choose it.
Timing and What to Plan on Your Kyoto Day
The workshop duration is listed as 2 hours to 150 minutes for shuriken and kunai, and about 2.5 hours for the oni mask. Completion times can vary, so I’d plan around a realistic window rather than a razor-thin schedule.
This is also the kind of activity where you’ll get more enjoyment if you don’t rush. The workflow is paced, and the fun comes from watching your object take shape in your own hands.
If you’re planning back-to-back activities, I suggest leaving enough time to get there, settle in, and still have time afterward to wander. Since the studio is a short walk from the station, you can build the rest of your route around it easily.
What You Get for $103, and Why It Feels Like Good Value
Price is $103 per person, and the value is in what you walk away with.
You’re paying for:
- A structured design-to-finish process
- Expert guidance through mold, casting, cooling, shaping, and polishing
- Materials for one weapon and dedicated tools and protection steps
- The anti-rust solution and special oil finish
- A dedicated box to take it home
A normal souvenir shop item is usually a decoration. This is a small work of craft that you built step by step. That matters because it becomes a better memory than a photo, even when you only have limited time in Kyoto.
If you’re the type who likes doing one hands-on thing during a trip, this is a strong pick. It’s also priced like a workshop, not like an all-day tour, so it won’t swallow your itinerary.
Who This Workshop Fits Best (And Who Might Want to Skip)
This experience is suitable for beginners, and it’s described as staff-assisted. That’s important because tin casting can sound intimidating, but the process is designed to be learnable.
It also works well for families. There are no suggested restrictions listed for kids beyond the age rules, and the workshop can be fun for children with staff help. The key constraints are:
- Not suitable for children under 5
- Not suitable for babies under 1
- People over 95 are not suitable
- Participants under 15 must be accompanied by a guardian
If you’re coming with a group, it’s also worth noting party groups are not allowed. So it’s best as a couple, friends, or family activity rather than a big celebration.
If you’re in Kyoto and want a souvenir that feels handmade and specifically yours, this workshop is a great match.
Practical Tips So Your Session Goes Smoothly
A few details can make the difference between an enjoyable class and a mildly stressful one.
First, bring drinks. There is no water provided, and food is not allowed during the experience. If you tend to get hungry between activities, handle your meal before you arrive.
Second, plan around the fact that you’ll be working with tools and metal finishing. Even if staff helps, you should expect a hands-on session where your hands get busy and your clothes might get a bit messy. An apron rental is included, which helps.
Third, bring your phone for photos and videos. The highlights point out you can capture the process, and the workshop environment is made for documenting your crafting journey.
Finally, keep in mind the rules: smoking is not allowed, and making fire is not allowed. It’s a controlled setting, so you can relax and focus on the crafting.
Quick FAQ for Kyoto Tin Casting
FAQ
What ninja items can I make in this workshop?
You can make a shuriken, and you can also choose options including a kunai. There is also an oni-inspired metal mask option.
How long does the class take?
Shuriken and kunai are about 2 hours (listed as 2 hours to 150 minutes). The oni mask option is about 2.5 hours.
Where is the studio located?
The studio is about a 3-minute walk from Demachiyanagi Station in Kyoto.
What languages do the instructors speak?
The instructor is available in English and Japanese.
What should I bring with me?
Bring drinks. Food is not allowed during the experience.
Is the class beginner-friendly?
Yes, the experience is suitable for beginners with staff assistance.
What is the size of the finished weapon?
The size of the weapon you can create is about 8 to 10 cm.
Are there age limits or rules for children?
The experience is not suitable for children under 5 or babies under 1. People over 95 are not suitable. Participants under 15 must be accompanied by a guardian.
Should You Book This Kyoto Tin Casting Workshop?
If you want one Kyoto activity that’s truly hands-on and produces a souvenir you made, I think it’s a great booking. The value sits in the full sequence, mold to molten tin to finishing, and the fact you take home the finished piece in a dedicated box.
Pick shuriken if you want the most straightforward weapon. Pick kunai if you like the idea of making a knife-like ninja tool. Pick the oni mask if you want the extra visual payoff, including gold leaf and a cord for display or wear.
One more smart reason to book: it’s close to a station, and it fits neatly into a half-day window, even with the extra time for the mask.
Latest write-ups near Kyoto
- Kyoto Private Tour Full Day with Local Guide&Nara Option(PerGroup★ 5.0 · 20 reviews
- Sacred Pathways: Discover the Philosopher’s Path of Kyoto★ 4.9 · 20 reviews
- Kyoto UNESCO World Heritage Site Private Tour with a Premium Van★ 5.0 · 20 reviews
- Hammer Pattering Experience of Ring★ 5.0 · 20 reviews
- KYOTO: Private Tea Ceremony in Hidden Townhouse (Kid-Friendly)★ 5.0 · 20 reviews
- Sushi or Traditional Japanese Cuisine in a Kyoto Home with Emika★ 5.0 · 20 reviews
- The Kyoto VIP Experience!★ 5.0 · 20 reviews
- Kyoto Customized Private Tour: See Top Attractions in 1 Day★ 4.7 · 20 reviews
Samurai & Ninja Experiences, compared.

Samurai Ninja Museum Guided tour and Experience
Read our review →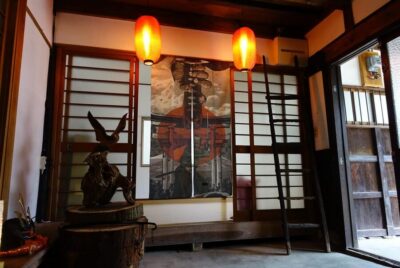
Kendo and Samurai Experience with Uniform and Gear
Read our review →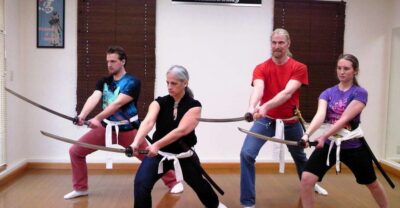
Samurai Sword Class by Experts in Traditional Arts
Read our review →
Skip the lines Basic Ticket at SAMURAI NINJA MUSEUM KYOTO
Read our review →
Samurai Sword & Archery Class from Samurai Descendant
Read our review →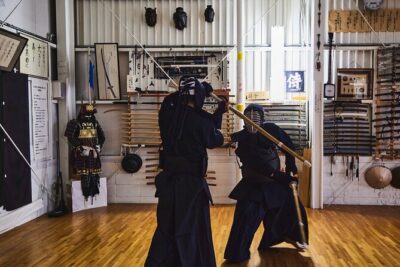
Browse the lists this tour appears in